Showing posts with label Floors. Show all posts

Friday, November 23, 2012

Master Bath finally completed

We have been using the bathroom now for a couple of months but two weeks ago we have finally completed all work. The last piece was the threshold that we ended up ordering on-line.


 If you remember we both took a week off from work with the hope of actually getting most if not all of it done. However we both got sick and then finally decided to take are time and do this as best as possible which turned out to be the best move.

Below is the "transformation" of the master bath.


Monday, February 20, 2012

Master Bath Project

After a few weeks off, it is now time to let you all know of our next project. We actually have two coming up but only one that we will be doing ourselves.

The master bath is long overdue. It is our last major project inside and it will be a big one. We are talking complete gut job. This week we ordered (online) the new tub and it should arrive sometime this week. We were really concerned because it needs to be 48" vice the standard 60" and we thought it would need to be specially ordered therefore it would be a "special" price, namely damn expensive. So we were pleasantly surprised to find a 48" non-special order.

The floor is narrowed down to probably a hex pattern in either marble or white ceramic tile. We really like the Calacatta Marble but don't like the price. Carrera Marble is less expensive but is more gray, reminds me of tombstones. White ceramic tile is the least expensive but..... it is white ceramic tile.

Today we began the demo by removing the existing cabinet and true to our style we put in a temporary solution. Not in the photo is a small three drawer cabinet to the left of the desk. This is good because we can begin to understand what we might really need in the way of storage. The cabinet came out really easy.

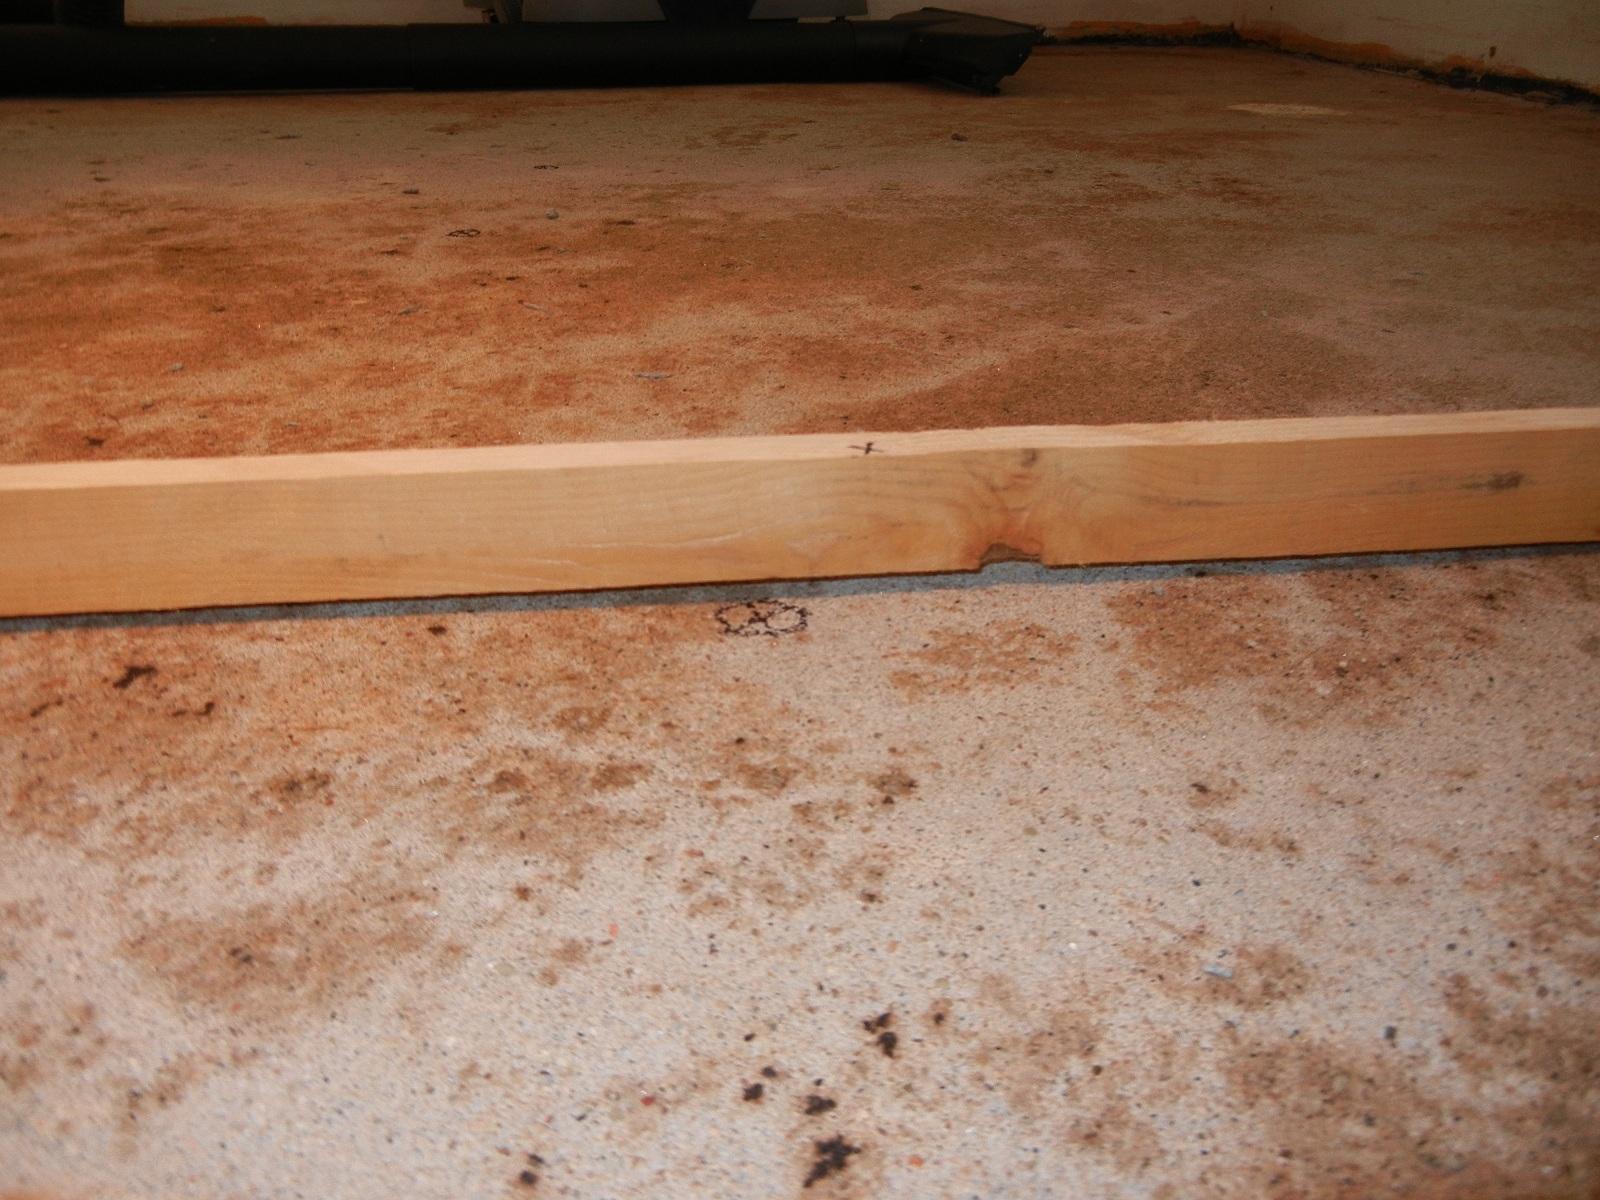
Of course with an old house you never really know what you might get. Apparently when the previous owner last remodeled they installed the cabinet and then poured a top coat of concrete about 1" thick. Did I mention that they did that AFTER they installed the cabinet!!! So now we have a nice depression in our bathroom floor. I am all for learning new things, but c'ome on man.

As for the other project, we met with a general contractor company to bid out the outside work:
  1. Demo and rebuild the north wall and build a wooden fence with gate.
  2. Build a roof over our back patio.
  3. do something with our back patio. He suggested building a wooden deck over it.
  4. Replace the driveway.
  5. Re-surface the garage floor.
  6. Build two gates for the courtyard entrance.
How much this will cost? I am scared to find out. Stay tuned!


Had to shim the legs for the desk


Sunday, July 3, 2011

Office Bathroom

To finish the thresholds we had to tile the office bathroom floor. I knew that there was tar paper there as well however it was a disappointment to fine TWO layers of the stuff. I have no idea what would possess them to do that other than to try and frustrate us. By the way, they succeeded. We had to remove two layers of vinyl and two layers of tar paper, the good news was that it was a small space and we now have experience in tar paper removal.

Overall the project was finished in a week without any major problems arising. We used the same pinwheel pattern as the front bedroom bath and used the black grout.

Almost complete with the floors. Just need to finish the thresholds and install them.


Tuesday, June 14, 2011

Floor Project Completed (mostly)

The trim is finally installed and it looks really good. The only things left are the thresholds but they will have to wait until we complete the office bathroom. Which by the way today we removed the toilet and most of the floor.

When removing the floor guess what we found........wait for it..........THAT $%&#*@# TAR PAPER AGAIN. But that is OK because we were expecting it. Although it still does not make it any easier to remove.

Anyway here is a small collage of photos of each of the major steps that we had to take.

Enjoy!!!!!!!! We sure didn't :)


Saturday, June 11, 2011

Floor Project part 5

Last weekend we sealed the floors with polyurethane. I have to say this was the easiest part of the entire project. We used a high build polyurethane by Minwax that advertises only two coats.They are true to their word, we only needed two coats.

It really is amazing the transformation from the unfinished floor to when the polyurethane is applied. Almost done, now we just have to put the trim and thresholds.


Monday, May 30, 2011

Floors Part 4

Finished the installation of the wood yesterday. Saturday, including final preparation and clean-up,  we spent about 6 hours and Sunday took about 11 hours.  Needless to say it was a lot of hard work. We were lucky on Sunday and had a friend help out, otherwise it would have taken a few more hours.

The glue is so sticky and hard to clean up that when we finished Sunday I threw away most of my tools. No way did I want to try and clean them again. The glue will stick to anything, imagine creamy melted marshmallows and multiply it by 1000, not to mention, once it drys good luck on getting it off.

Another issue was the 90% of the long planks were warped. So that added another challenging aspect, which ones to use and not use. However we only had so much wood and ended up using many of the warped ones. Of course the milling was not superb so some were not straight, I guess that is why they make wood filler.

Next up is to fill in any gaps with wood filler, sand, then apply polyurethane.

If anyone ever asks you to come over for a "fun" day of installing glue down hard wood floors....RUN LIKE HELL!!!!!!!


Monday, May 23, 2011

Floors part 3

We are getting closer to the end. Since the last post we have cleaned the floors, tested for moisture, and leveled (or attempted) the floors.  I say attempted because they were so bad it took three attempts with the leveling compound and a session of grinding down a ridge. It was a LOT of work. If I had a chance to do it again I would have ground down any high points then skim coated the entire floor.

Next weekend we will lay the floor and then the following week we will put the finish. Almost there.

Moisture test. Thankfully nothing.

One of the many gaps.

I first used just dots where it needed to be filled. Not the best way.

Latex primer, before the self level compound.

First attempt.

Finally got smart and did it a different way.  Looks like a battle plan.

Sunday, May 8, 2011

Mr. Clean and a buffer

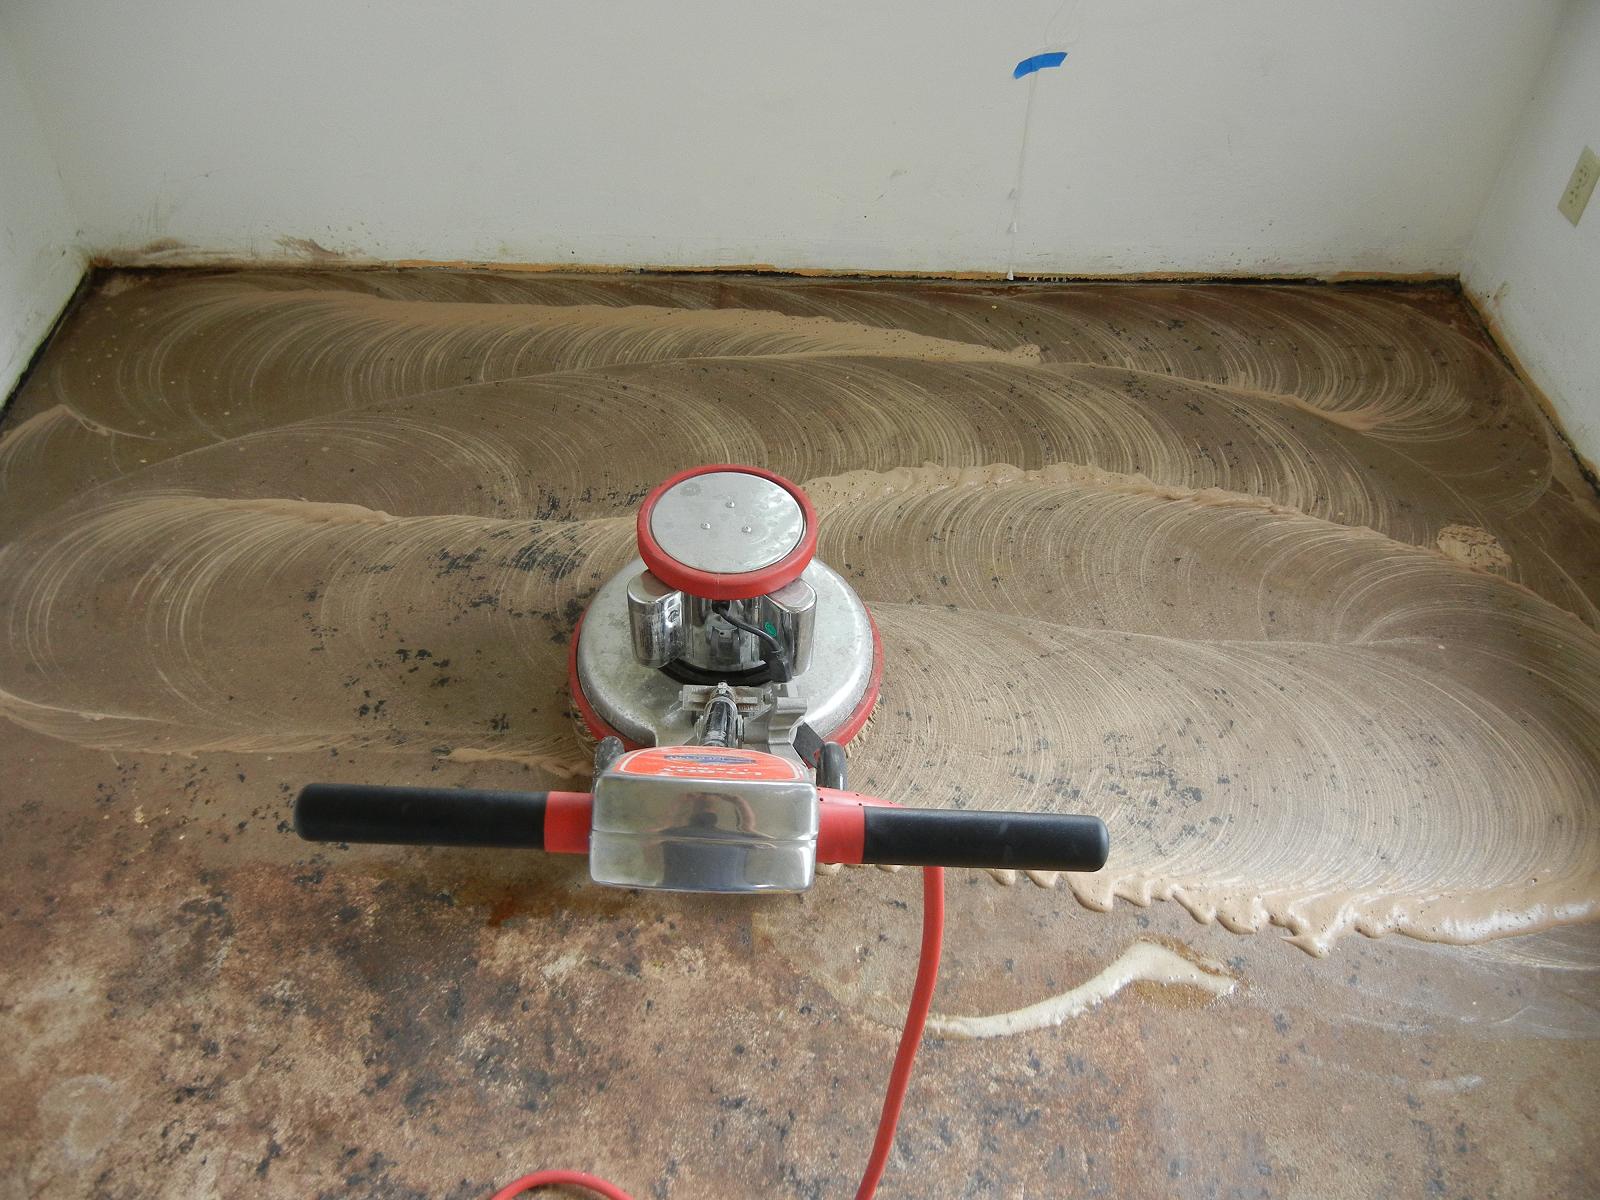
I knew those 20 years in the Marine Corps were not wasted. As I was trying to figure out how to remove the last of the tar I reflected on my many fond memories of Thursday field days (a field day is when you clean your room and outside areas)(the "fond memories" was sarcasm). So I decided to try and use a buffer with degreaser.

What do you know, it worked like a charm. It took about 5 hours to do both rooms but in the end it finally felt like we made progress. I will go over the floor one more time just to make sure it is clean of all tar/oil residue.

We still have the closet in the front bedroom to complete and then it is on to leveling the floor. Once the floor is level we will let the wood acclimate in the rooms for 7 to 10 days. Then we install.


Actually the floor is clean it is just stained

Sunday, May 1, 2011

More %#&*!!%# Tar Paper

Today we mostly finished the office tar removal. It only took 2 solid weekends. Having never removed anything like this before we were unsure of how to approach it. obviously we did not want to use anything toxic or flammable since this was inside the house. So that meant no gasoline or kerosene and living in California it meant there was not much selection on stripping chemicals.

I first tried to use a propane torch that I borrowed from my boss however it did not work well at all. All it did was melt the tar.

We went with a brand called citrus stripper. It is low VOC, not toxic at all, it cost $41 a gallon and I would have needed around 3 or 4 gallons. It also does not work worth a crap. I followed the directions and left it on for around 3 hours. All it did was to smear it into a blackish blob.

A. Then did her research and came up with the idea of using boiling water and vinegar. Damned if it did not work and I only had to leave it on for about 3 minutes before scraping.

After we finished we then moved onto the new room where we decided to go ahead and rip out the existing floor. And underneath the two layers of stuff we found.......more Tar Paper.

To be continued.........

Safety First

After three hours that is all the stripper did

some of the removed tar

more removed tar with used blades. we had about 7 bags


more tar paper in the office :(

here we go again