Sunday, November 28, 2010

Surfing Santa

Yesterday Santa arrived at Seaport Village on a pirate ship, AARRRGGG! Attached is the video from the event.


No, we do not know this family :)

Wednesday, October 13, 2010

Front Wall

We now have a contractor building a wall for the front/side yard. It got to be such a problem of people walking into the back yard to see the view of the canyon. More annoying than anything.

So first thing we had to do was remove the queen palm tree and bird of paradise from the side. So I put an add in Craig's list that the plant and tree were free but it was a U-dig it out.  I had a contractor contact me within 10 min and so the following Saturday he came.  Fast forward 2 hours from his show time and he and a worker were still digging it out. I was afraid he might walk away so I started to help.  It took 3 hours and three adult men to get the tree out.  We had to roll it up a make shift ramp to get it into his truck, 3 grown men could not even lift it up.

Moral of that story is, if someone offer you a free palm tree that you have to dig out....DON'T DO IT!!


Below is the progress so far.  It should be wrapped up by Saturday.


Never ever accept a "free palm tree" This one took three hours to dig out. I felt so sorry for the guy that took it.


Oops they busted the main water pipe. Code says it should be 18" deep but since the house was built in 1937 it is only about 10" deep.

There were two of these in the yard and each were only about 10" deep. I believe they are gas lines but hopefully they are no longer active.

The new columns that will hold the new door.


Saturday, September 18, 2010

Gate project completed


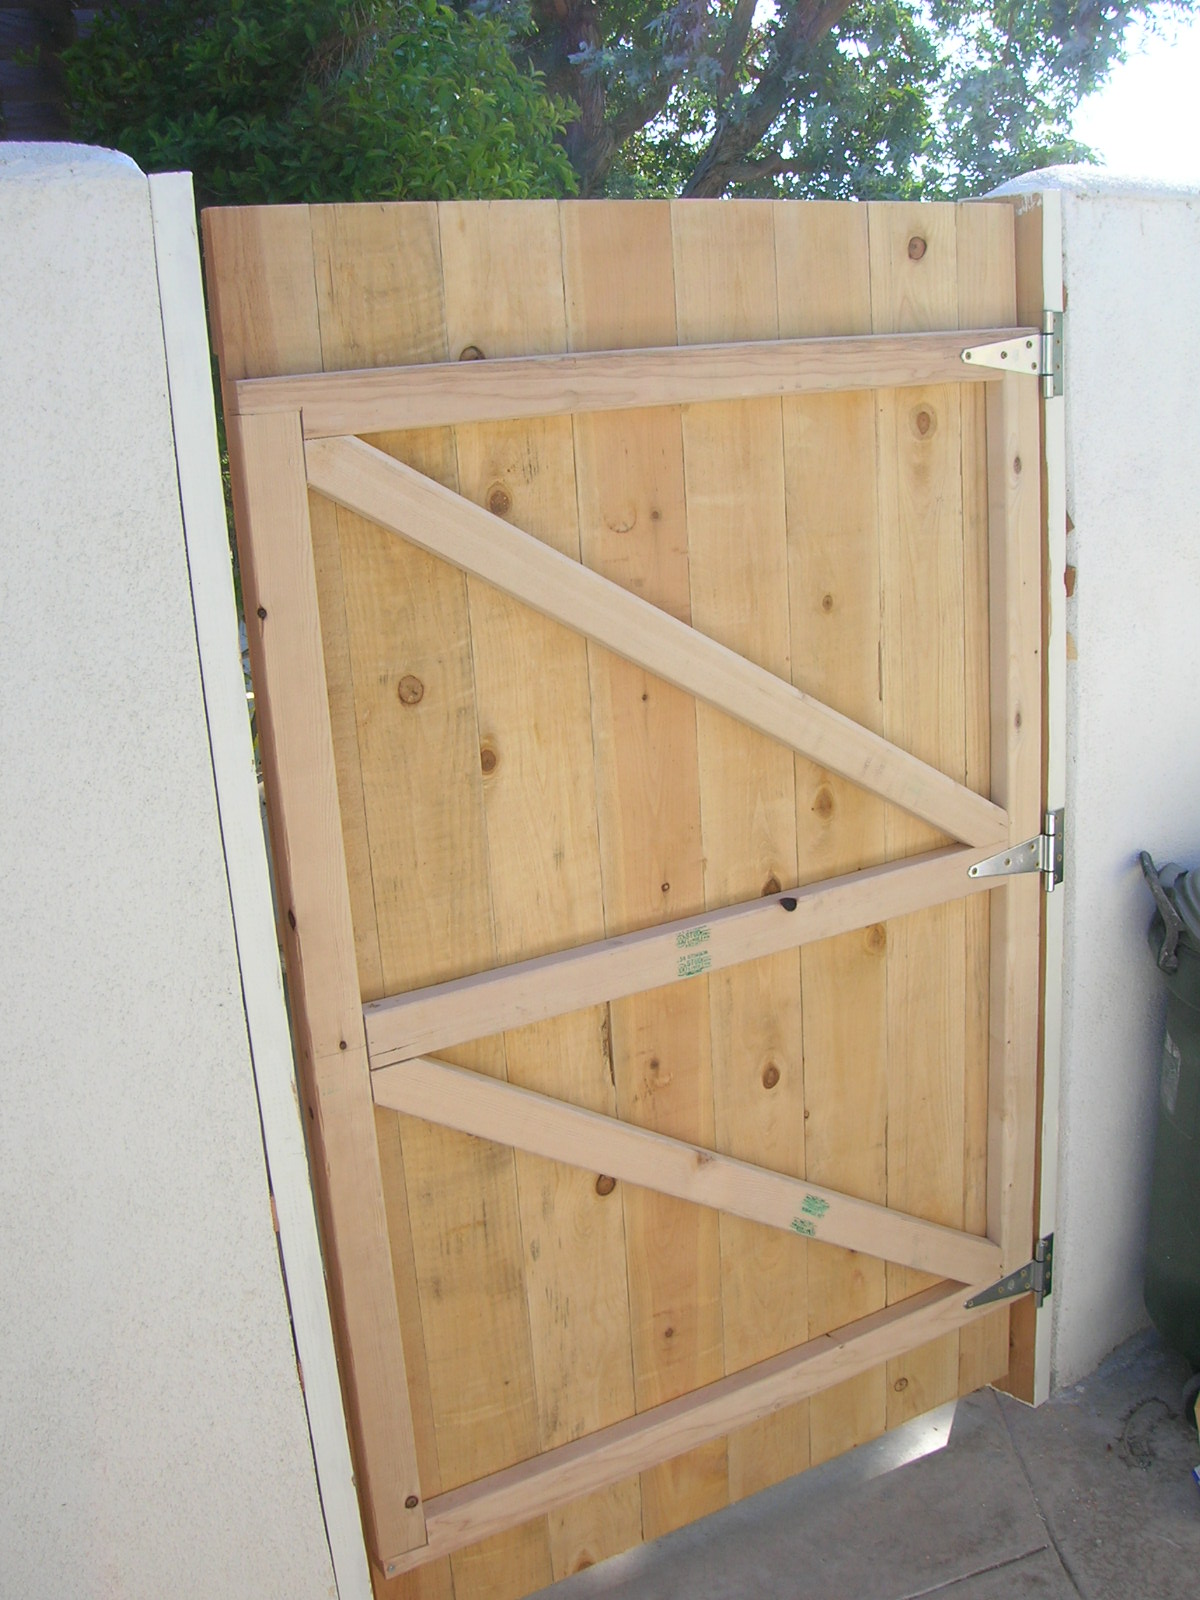
The last thing we needed to finish was painting and fixing the gaps on the sides where the support posts were attached to the walls. The paint chosen was turquoise and it didn't take months to decide, surprise, surprise, surprise!

The other major item that needed to be addressed was the gaps between the support posts and the walls.  The gaps ranged from 1/8" to over 3/8". I had shims of all shapes and widths, some can be seen in the previous posts. We decided to use a thin strip of wood (basically moulding) that would cover the support posts and the gaps in the wall. It needed to be about 1/4" thick otherwise it would be to bulky and it needed to be around 2 1/2" wide to cover the support post and the gap. I would still have to trim it to various widths due to the wall variation. We looked at Home Depot and found what we needed but it would cost around $30 because of the total length needed, around 24'.

So I tapped my enormous brain power (remember that part) and decided to cut the leftover gate board, a 1"x6" cedar board, to 2 1/2" wide then I would rip in down the middle to get the desired thickness. That went well!!!!

Next step was to figure out how to cut the varying widths due to the wall variation. I made 17 points along the wall and matched it up to the board. Then I measured the distance from the wall to the end of the support posts. I then placed a dot at the length on the moulding and connected the dots, genius (remember that part).
I took out my trusty jigsaw and made the proper cuts.All total this took about 2+ hours to complete.

When I placed the board up to the wall it was pretty darn close but there were some minor gaps. I then told "A" don't worry about the gaps because I can fill them in with my stucco patch.....WAIT WHAT DID I JUST SAY??? STUCCO PATCH??? I COULD HAVE JUST FILLED IN THE GAPS WITH STUCCO PATCH AND NOT HAD TO CUT THE DAMN BOARDS!!!!!!!!!!!!!!!!!!!!!!!!

I did use the stucco patch that I already had and it took me about 20 minutes to complete. It looks really good.


Bonus photo. Tonight's sunset.

Sunday, September 5, 2010

Gate Project Part 1

Since the house on the north side is so close w decided to add a gate to the north side of the house where there is an existing doorway.  Last weekend I added the support posts to the wall.  Since I could not place a 4x4 post into the ground due to the concrete I did what I thought was the only other option. I added a 6x2 bolted to the wall with lag bolts. I had a good idea of how to do it but "A" did her research and found that it was a good idea to add epoxy to the anchor sleeve placed in the wall. I used 4 1/2 in. lag bolts in metal sheaths with JB Weld epoxy.

Today was the actual build of the gate. We used 1x6 cedar planks and framed it with 2x3 Douglas Firs. To put it all together I used 2" and 3" deck screws.  I also got to use my pneumatic nail gun to affix the top and bottom border with 18ga 1" staples.

Overall from dragging the tools out to complete cleanup too about 5 hours. the actual gate took about 4 hours to build and hang. Since this was my first time building a gate from scratch I think we did pretty good.

The only part left is to paint it. "A" picked out a beautiful turquoise color. Since everything is brown and white we wanted some color. I will post once it is completed.


Saturday, September 4, 2010

SDSU Home Opener

We went to today's home opener for SDSU. "A" was able to get comp tickets through the senior staff. It was pretty cool we got the season ticket holders parking area, right in the main entrance to Qualcomm Stadium and not have to pay!!! They also had a skybox with free food and drinks (aka beer). I felt really special...sniff.

SDSU played Nicholls State (yeah I never heard of them either). They totally annihilated them 47-0. Below are two photos of the game taken on my high speed, low drag, 4 year old cell phone. I forgot my camera, bummer.

It does not look like that many people but the attendance was over 25,000. Not bad for the Aztecs.
SDSU Kickoff (no f-stop on the phone)
Halftime Aztec Marching Band

Sunday, August 22, 2010

The Zoo

Yesterday we went to the World Famous San Diego Zoo with some friends of ours.  They had guest passes so it did not cost us anything. The last time we went to the zoo was sometime in the mid to late 90s so this was a real treat.  The zoo is huge so needless to say we walked and walked and walked.  I can't post all the pictures we took but here are some. Also you can view the Pandas at the "Panda Cam" along with a few other live cams they have. The last two photos are from Splash Animals.

Pink Flamingo
Mother Panda and her Cub playing
Baby Panda thinking of climbing
I thought this was a cool picture because you can see the Pandas in the other cameras
This is the entrance to the new exhibits Elephant Odyssey
Mountain Lion
Jaguar
Spotted Lynx
The picture above is from a show called "Splash Animals" These two paint with their hands and paintbrushes while dancing to music. They paint endangered animals and can paint them in about 10 or 15 minutes. Very cool

Wednesday, August 18, 2010

Bathroom Project part 8 (completed)

Well the project is finally finished, at least the major part is.  We still need to decorate and all that stuff but the heavy stuff is done. I was actually completed over two weeks ago. Below are the final pictures, some stolen from another blog, of our hard labor. In the end it was worth it but there were times when it was in doubt. Hopefully this is the last major remodel of the house where demo of tiles are required.

On to the next project.....an outdoor gate?

Sunday, July 25, 2010

Bathroom Project part 7

Progress marches on!! In this post you will find we have tiled the walls and floors as well as grouted. If you have been following someone else's blog too then you will find mine is lagging behind, plus I plagiarized a few pictures. We used white grout on the walls and black, yes black, on the floor. I was initially against the black grout but I think it makes sense because it highlights the pinwheel design. If we had used white then I think all you would see are the black dots. Any other color was never really in consideration because then there would be too many colors competing and we wanted a black and white bathroom. Any color we can add or take away with accessories. Good call "A". Grouting using black is an interesting job that I am not sure I would want to repeat. White grout is very forgiving but with black you have to bring your A game.


Bought a 7" tile saw.
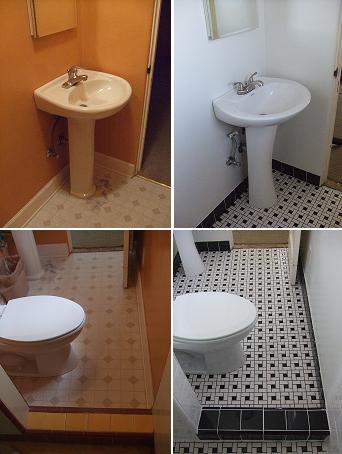


Test fitting.


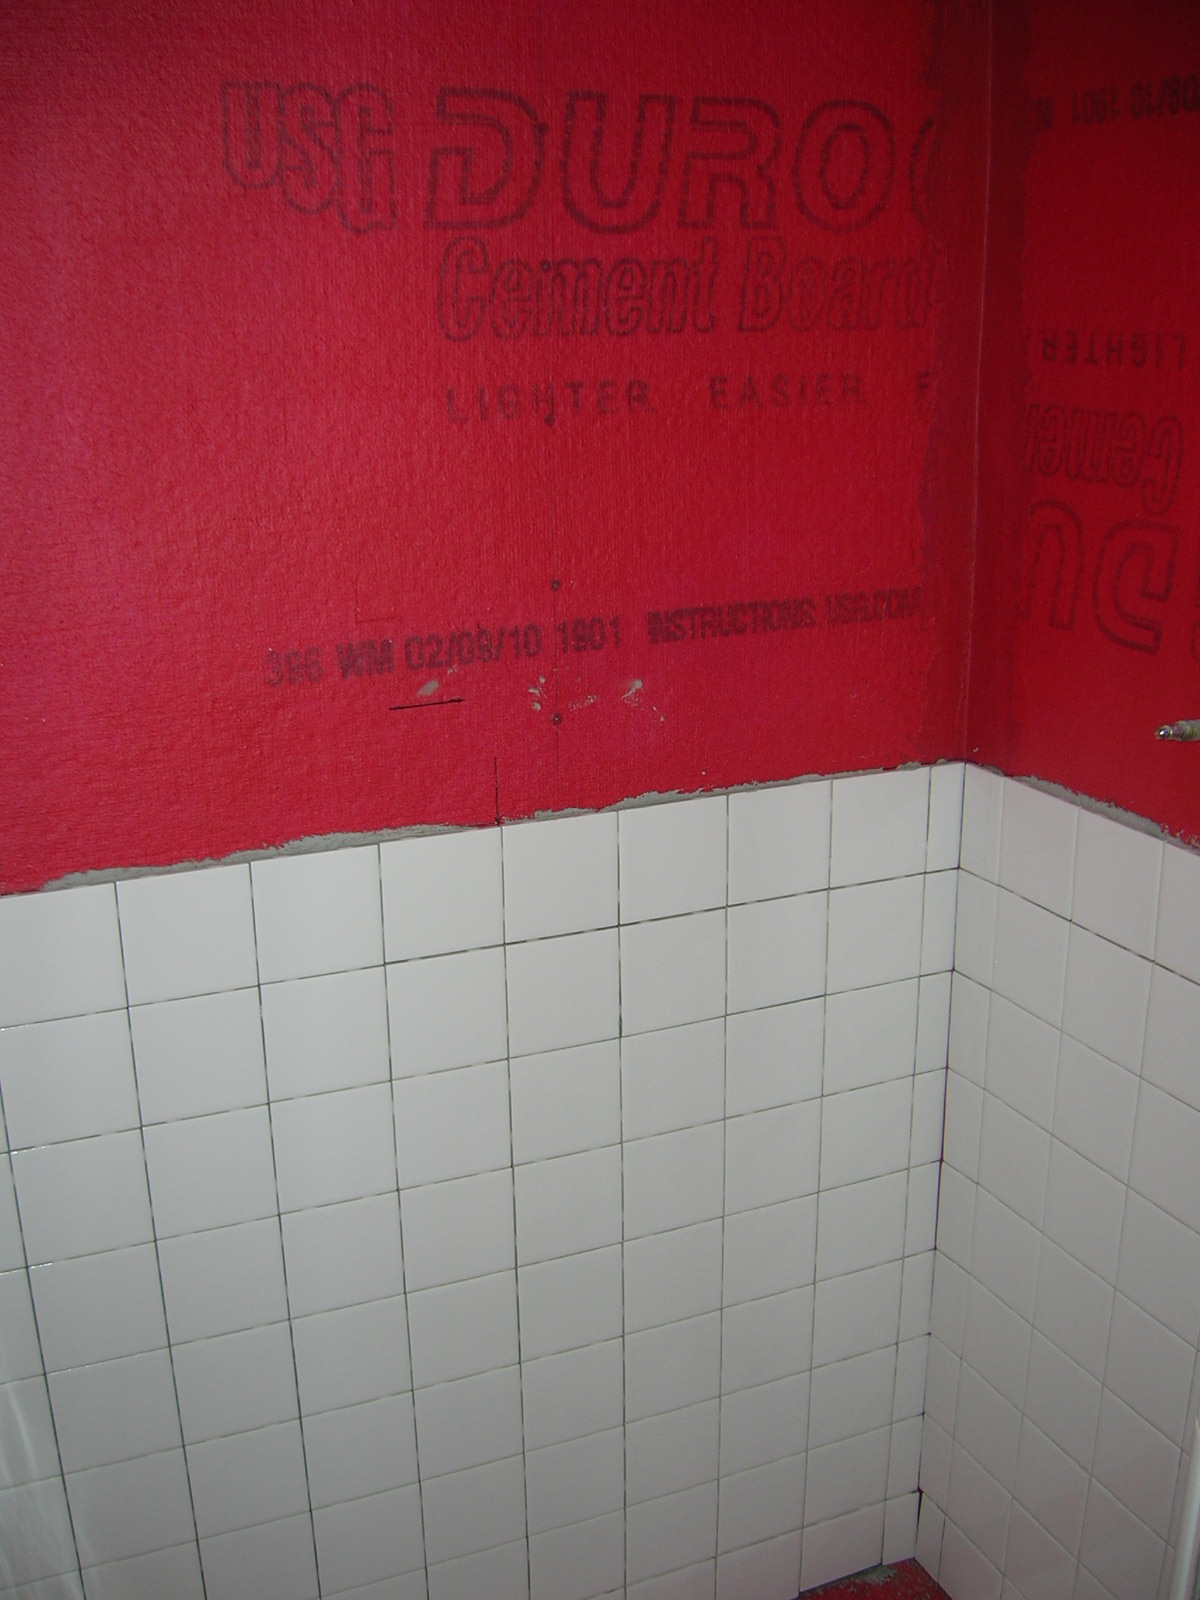
Black hole in my bathroom.


OMG what have we done?