Monday, May 28, 2012

Vanity for the Master Bath

We mulled over what to use for a vanity; pedestal sink?/actual cabinets?/or something completely different? We decided on something completely different. "A" found a website called IKEA Hackers, this is where people will take IKEA furniture and re-purpose it to suit their needs other than what it was originally designed for. Actually we are using another piece of hacked IKEA furniture and using it for a storage cabinet in the bathroom, but that will be another post.

This particular piece is a three drawer dresser that we will use as a vanity.  The first challenge is that it is 38" tall, way too much for a vanity. We wanted it around 36" when the marble is installed which meant that we needed to cut almost three inches off the legs. Our big concern is to cut them uneven thus rendering a $149 piece of furniture useless.

So I needed to buy a better blade for my saw since the current blade only had 24 teeth. Quick trip to Home Depot and now I have a blade with 60 teeth. "A" measured the distance, I made the cuts and it turned out perfect.

Once we have the sink installed I will need to re configure the top drawer and maybe the middle one to accommodate the plumbing.


Monday, May 21, 2012

Bathroom Project

Yesterday we tiled the floor with a marble hex. I was originally thinking that we could finish in a couple of hours but it ended up taking about 6 hours including a lunch break and a trip to home depot to get another bag of thin set.
 
If it was regular 12x12 I think it would have gone faster but with the mesh hex I had to be careful because it was real easy to push one down too far. The good news is that we didn't have to use the tile saw.


Sunday, May 20, 2012

Annular Eclipse

We didn't get the full eclipse but got around 80+ percent of the eclipse. We were expecting the marine layer and not sure if we could see any of it but thankfully the weather cooperated.

Since we were laying tile most of the day and I actually forgot about it. I was getting ready to take a shower and noticed that it was "dim" outside without any clouds. Aha, it must be the eclipse. Of course I didn't look at the sun, mama didn't raise a fool, but our blinds have many pinholes in them were the cords pass through. Also as the sun passed through the trees we got nice shadows on the walls.

Not sure why they turned out kinda blurry but enjoy!


Saturday, May 19, 2012

Master Bath Project: Day, I have stopped counting!!!

 This project has been going on for so long I am tired of counting. But we are getting closer and closer. Since the last update we have patched the walls, installed the new fan, primed and painted the walls. Tomorrow we will lay the floor tile.

Attaching the dry wall is really easy but blending the texture is not as easy. However I think I might need to do a little more work now that it is painted. When texturing that much wall it is difficult to get it to match the rest. When we did the kitchen I ended up texturing everything and that was really hard even though I had help. I sure did not want to re-texture the whole bathroom.


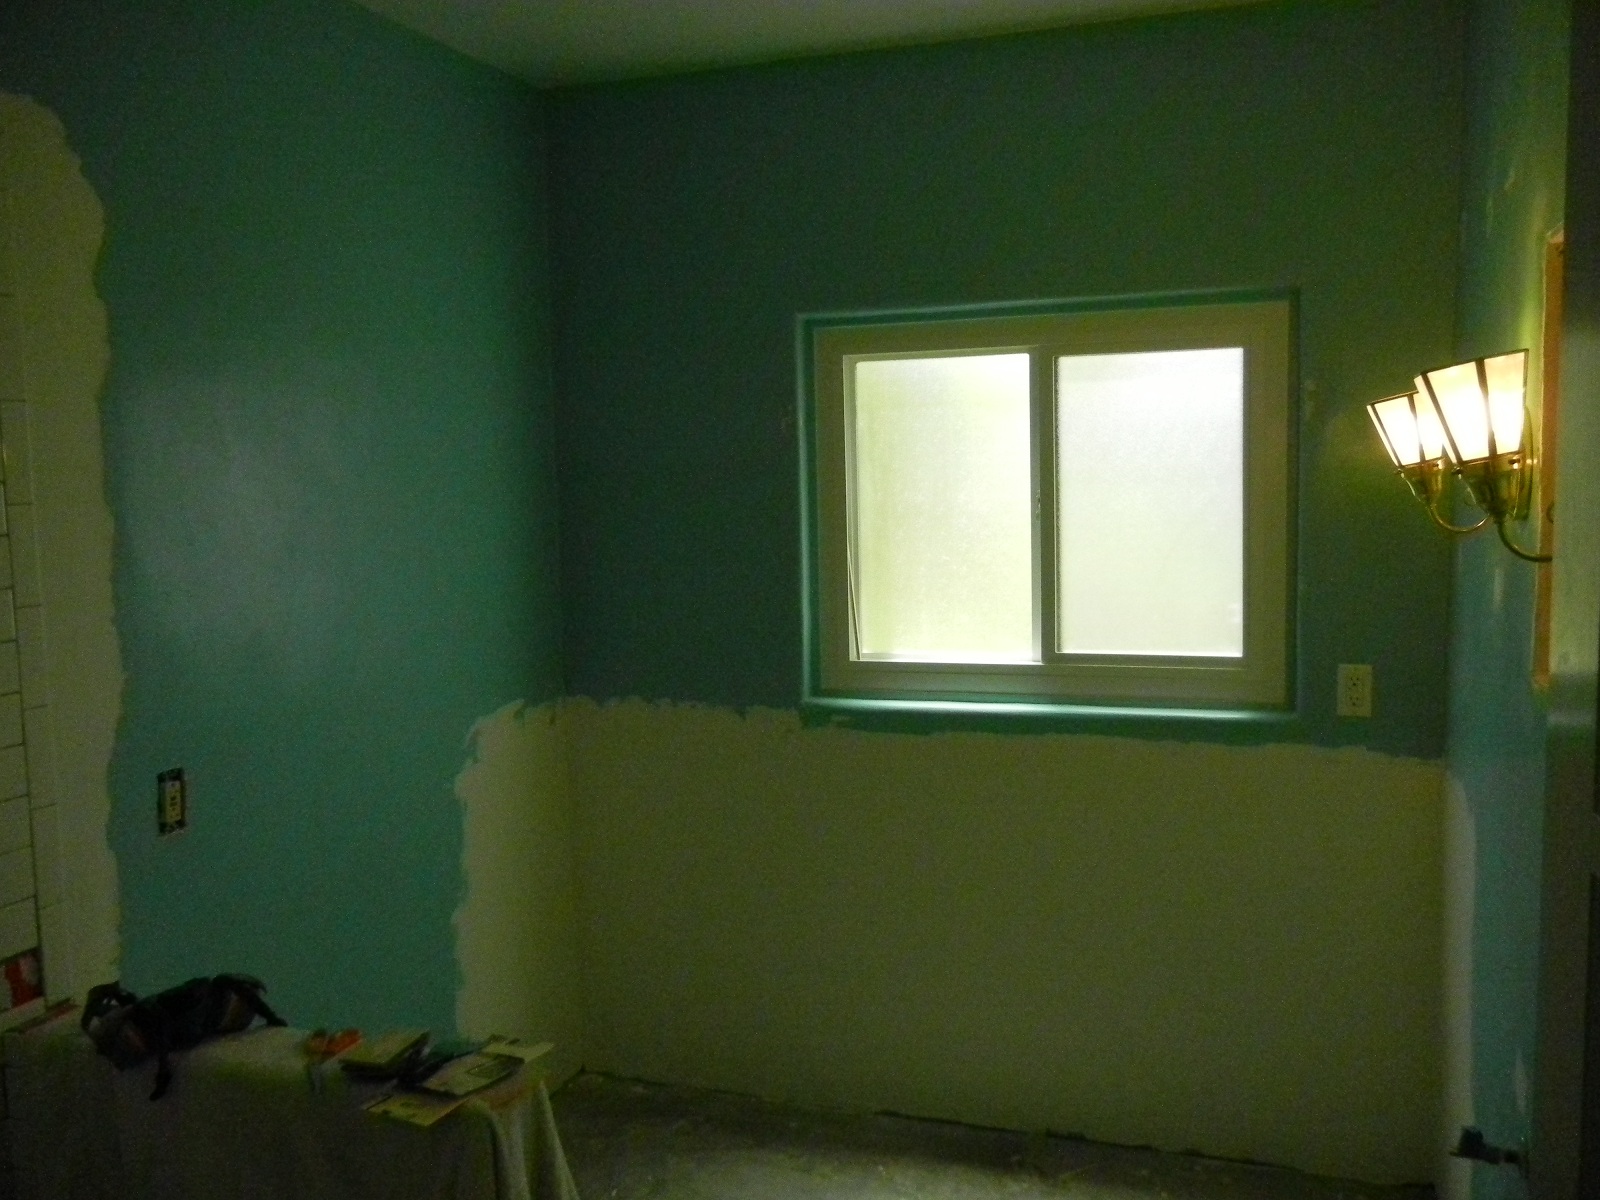
Two coats of primer then one coat of paint


Still having issues with the niche


Replacing the fan was an adventure, actually anytime I have to go up to the attic it's an adventure. Don't let the picture fool you, there is very little space. In the middle, where I am in the picture, I have about 2 to 3 feet of height. Where I am drilling to re-frame, I am on my belly and have less than a foot of space. As you know the house is framed out of re-bar so in the attic I have various boards that span the re-bar. You always have to be careful of where you put your knee otherwise the board will come up and smack you in the face. The good news is that it only happens once.


The old fan was round and the new one is rectangle so when I replaced the fan I had to do some serious patchwork to fill in the gaps, thankfully I had some metal lathe that I used and used joint compound for the filler.


No place to be if you are claustrophobic


Re-framing (of course) for the fan


Thursday, May 17, 2012

Outdoor Project part 5

The deck is progressing nicely and I think it will go much faster than the wall and fence. He has worked on it for two days and it is almost framed out.

Everyone we have talked to said for the deck to be level with the main floor in the house. However with us having a roof we thought that it would feel too close to the ceiling. Instead we wanted it to go just over the steps. This way you would have one step down from the house and it would give a little more clearance from the roof.

The frame is pressure treated wood and the top will be redwood. We thought about going with ipe wood but since we will have a roof the deck should not get too much weather.


Wednesday, May 9, 2012

Outdoor Project part 4

The fence is complete and the gates are mostly complete. Rich still has to complete the front gate but it is almost done. Then we need to stain the front gate, paint the fence and order the latch. The paint will be the same brown as the trim and the stain will hopefully match. We decided to stain the front gate since it is made out of redwood and it would be a shame to cover it up. .


Since the house is an art-deco Spanish style house we wanted to embrace the art-deco part. As you can see in the front gate photo we have the horizontal lines to go with the windows/light/front door entrance. The top of the gate is 8" taller than the 5' columns.


The side gate matches the fence gate


Because we were concerned with our neighbors and wanted to make sure that we did not cut off too much light on their side we only wanted to fence to be 6'. That required it to be stepped down towards the canyon because of the crown of the ground.


It turns out that they will still get plenty of light in the windows that face the fence, except maybe in the winter since they face south. The fence might block some of the light then.

We are very happy so far and cannot wait until Rich starts on the deck and patio roof.

Tuesday, May 1, 2012

Outside Project part 3

The outside project is proceeding very slowly, even for the contractor, I think. The wall is back up (and straight) and now we have the fence posts. I had the option of using pressure treated wood 4x4 posts or paying more and using the metal postmaster posts. Of course we went with the more expensive (don't look so shocked) metal ones so I will not have to worry about rot or termites. For the extra costs I think it is well worth it.


The first casualty of the project was the neighbors window that was broken. However the contractor did replace it.


One of the good benefits of the project is that we are going to gain some usable space by the garage. The slab has already been poured I just don't have a picture of it. But then again it is just a concrete slab. Anyway I plan on building a small shed to store as much of the stuff I have in the garage as possible.

Hopefully by next week we will have a fence. ☺

Bonus photo!!!